Website hosting on EC2 instances
In the world of web development and server management, Apache HTTP Server, commonly known as Apache, stands as one of the most popular and powerful web servers. Often, developers and administrators require custom images with Apache server configurations for various purposes, such as deploying standardized environments or distributing applications. In this guide, we'll walk through the process of creating a custom image with Apache server (httpd) installed on an AWS terminal.
Setting Up AWS Environment:
Firstly, ensure you have an AWS account and access to the AWS Management Console. Once logged in:
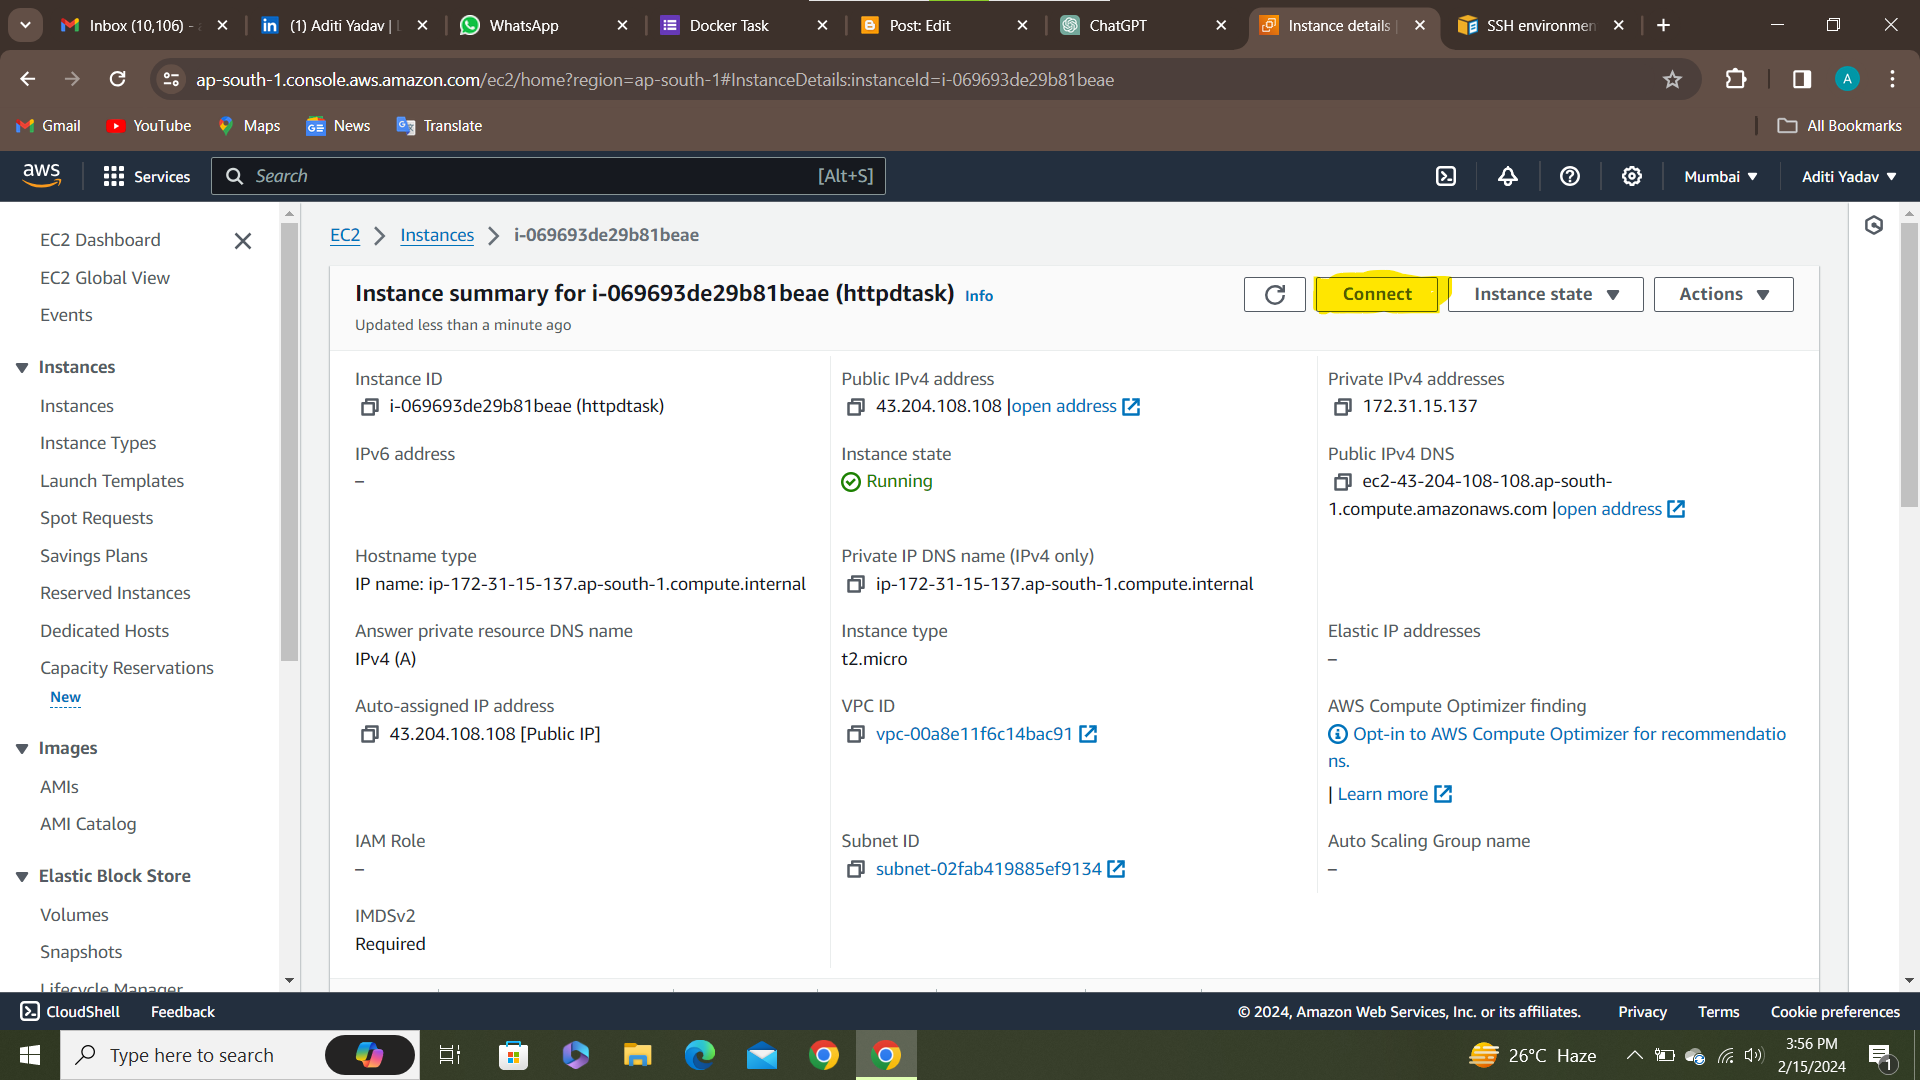
1. Launch an EC2 Instance: Navigate to EC2 service and launch a new instance. Choose an appropriate Amazon Machine Image (AMI) based on your requirements. It's recommended to select a base Linux distribution such as Amazon Linux.

2. Connect to the Instance: After launching the instance, connect to it using SSH or AWS Systems Manager Session Manager.


Installing Apache Server
Once connected to the EC2 instance:
1.Update Package Repository: Run the following command to ensure your package repository is up to date:
sudo yum update # For Amazon Linux
2. Install Apache: Install Apache HTTP server using the package manager:
sudo yum install httpd # For Amazon Linux

3. Start Apache Service: Start the Apache service and enable it to start on boot:
systemctl start docker
. Set Up the Web Server:
- Install Web Server Software: Depending on your choice, install software such as Apache, Nginx, or IIS.
- For Apache on Ubuntu:sudo apt update
sudo apt install apache2 - For Nginx on Ubuntu:sudo apt update
sudo apt install nginx
- For Apache on Ubuntu:
- Configure Web Server: Edit configuration files as needed to set up your website. For example, update the
defaultconfiguration file in Apache or Nginx.
4. Upload Your Website Files:
- SFTP/FTP: Use tools like FileZilla or WinSCP to transfer files to your instance.
- Direct Upload: Use SCP or commands to directly upload files from your local machine.
5. Configure DNS:
- Assign a Domain Name: Register a domain name and point it to your EC2 instance’s public IP address.
- Update DNS Records: Use your domain registrar’s DNS settings to set up A records, CNAME records, etc.
6. Test Your Website:
- Access via Browser: Open a web browser and enter your domain name or the public IP address of your EC2 instance.
- Troubleshoot: If you encounter issues, check security group rules, web server configuration, and logs.
7. Security and Maintenance:
- Apply Updates: Regularly update your web server and website software.
- Backup: Implement a backup strategy for your website data and configurations.
- Monitor: Use tools like AWS CloudWatch to monitor your instance’s performance and availability.
Comments
Post a Comment